Toggle Nav

Search
Language
 ENGLISH
FRANÇAIS
ENGLISH
 Create a Support Ticket
 Call 1-866-899-2499
 Chat with an Agent
 Go to Support Center
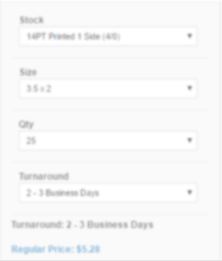
Business Cards
Lamination + SPOT UV
These luxurious laminated business cards have clear gloss applied to areas of your choice.
- Choose from soft touch (19pt) or matte lamination (18pt)
- Slightly raised clear UV gloss
- Lamination provides a protective layer for cards
- Perfect for adding tactile elements to print
Can't find what you are looking for?
Click here
to get a custom Quote
Premium Stock Cards
Our high quality 16pt stock is covered in lamination film to produce a premium 18pt card (silky matte) or 19pt card (soft touch).

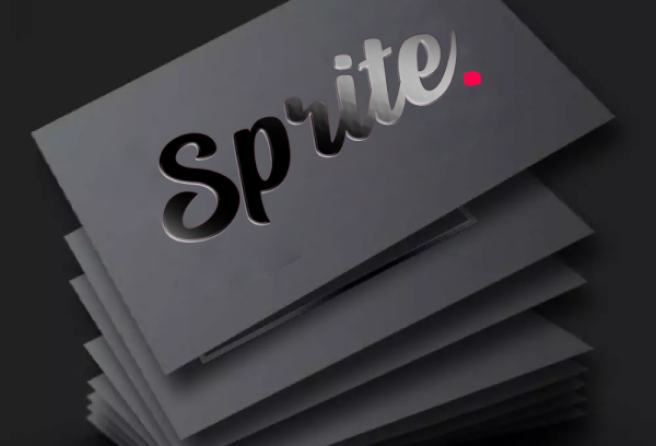
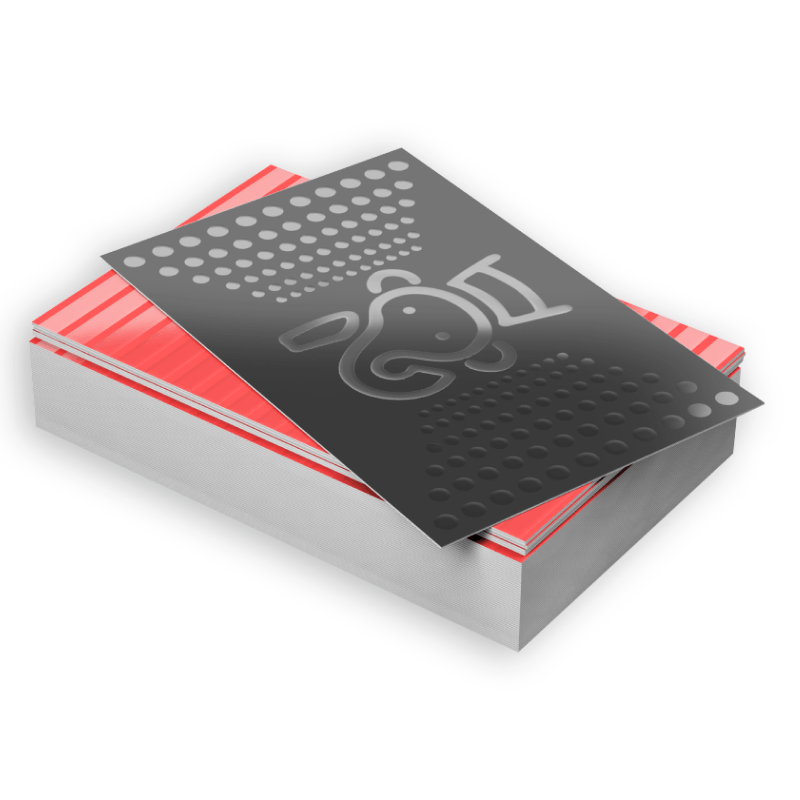
Clear Spot UV
Make designs pop on your clients’ business cards with clear spot UV that brings out the colors of the design and adds emphasis to what matters most.
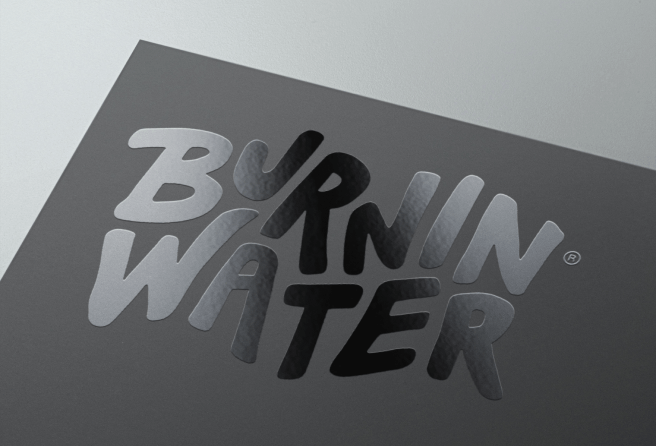
A Tactile Experience
The smooth feel of our laminations combined with the slightly raised spot UV creates a powerful tactile experience through print.
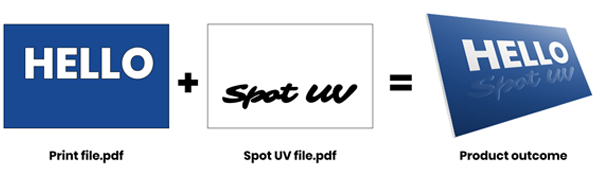
Please submit two PDF files:
- Regular full color artwork
- Spot UV template indicating the area of the SPOT
On the spot UV template file, indicate the spot UV areas by using 100% K. Non-UV areas should be white. For best results, ensure this file is vector.
If you require one side to be completed UV coated, the corresponding page in your template file should be entirely filled with 100% K.
If ordering a 4/4 job with spot UV on only one side, please ensure that page 1 of your artwork is the spot UV side.
CAUTION: Our spot UV machine manufacturer does not recommend extending the spot UV design to the trimmed edge of the card, as there would be a high possibility of the spot UV peeling off along the trimmed edges. There should be at least a 5mm spot UV-free area around the edges. If you supply spot UV files with full bleed, please note our automation will automatically apply a 5 mm gap (from the trim edge) on your spot UV files to prevent the risks of the trimmed edges lifting/peeling. The non-spot UV varnished area may be visible along the edges as a result. It is best to avoid full bleed on your spot UV files for the above reasons.
Spot UV Accuracy
Positioning of the spot UV cannot be 100% guaranteed. Please note that there may be a shift of approximately 1/16" in the spot UV position on the printed product. We do not recommend placing spot UV on small text or very small images.
How to Prepare Your Files
Download Setup Guide
Get It NowHow to set up multi-page files properly
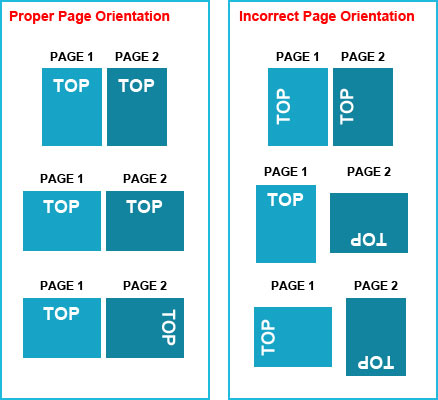
File Orientation Guide
Learn MoreHow to set up proper orientation for your files
File Orientation refers to the orientation of the artwork files submitted. Ensure that they are submitted to back up properly to produce the intended result.
Flat Artwork (Postcards, Flyers etc.)
How To Set Up Your Files
Learn MoreLearn how to set up your files the right way.
General File Preparation Guidelines
- Download our guides to ensure a more optimal print result.
- Be sure to DELETE any hidden layers that are not intended to print (ie: setup guide layers or other hidden artwork layers) to ensure no risk of them appearing on the final print.
- Each job (including multiple paged projects) must be submitted as a single PDF file. Ensure that all pages are the same size.
- Files must be submitted with proper orientation to ensure proper back up. Please review the File Orientation Guides carefully in the File Prep tabs for your particular product.
- It is best to try to avoid using borders in your design. If a border is too close to the trim, the trim may be slightly off-center.
- File must consist of 1/8" bleed and all important art and text must be within the safety margin. The more safety margin the better (to avoid awkwardly close trims or having critical elements from getting cut off).
- Ensure that your PDF is high res and that all images are CMYK at 300 DPI.
- Black text/type should have the following values: C0, M0, Y0, K100.
Larger areas of black coverage should be C:30/M:20/Y:20/K:100 to get a deep richer black. (For more info, click here) - Embed or outline all fonts.
- For best colour results, supply a CMYK only file (unless your product type specifically requires RGB color mode or specifically requires you to supply PMS colors).
While SinaLite maintains strict quality standards, minor shifts in printing are possible. Thin or small white text knocked out from a rich black background is prone to printing issues, such as color bleeding, filling in, and poor readability due to slight misregistration. We recommend preparing files with the following tips in mind.
-
Use C30 M20 Y20 K100 for Rich Black
Use this recommended rich black formula to minimize oversaturation and registration problems. Avoid heavier CMYK builds like C60 M60 Y60 K100, which can increase color shift risks.
-
Thicken White Knockout Text
Increase the thickness of white text knockouts to prevent them from filling in or becoming unreadable.
- Recommended minimum line weight: 0.75pt
- Recommended minimum font size: 8pt
-
Apply Swelling
Swelling (slightly enlarging knockout areas) compensates for minor ink spread on the press. Slightly increasing the size of the white knockout text can help maintain crispness after printing.
Common Issues
Learn MoreHow to avoid common file issues
How to ensure proper orientation/backup
Why bleed is necessary for print
Why you should avoid border designs
How to set up dielines
Why safety margins are necessary for print
How to create transparent PNG files
Please note: the Customer is responsible for all approvals and regulatory compliance. SinaLite is a printing company and does not approve labels nor review the content for regulatory compliance.
If your account has Auto approval enabled, your order will be auto approved within 1 hour of order being placed. Unless the file is rejected, in this case you will receive a rejection email.
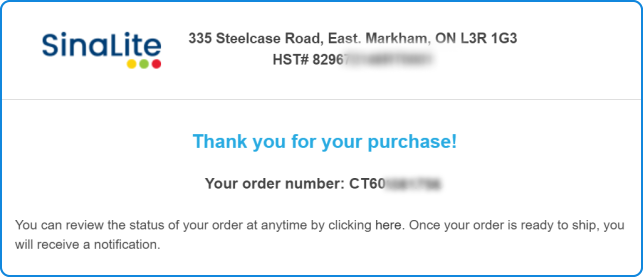
Upon placing an order, you will receive a confirmation email stating that the order has been successfully placed.
After processing your order, our prepress team will review your artwork and run automated checks to ensure its print readiness. Once completed, our automated system will send you a link. This link allows you to approve the file to proceed, make changes to the file, or put the order on hold.
Please note that you are responsible for final proof and layout approval prior to the printing process, so make sure you check carefully for language and grammar, graphics, bleeds, damaged fonts, overprinting, form fields, and files not built to template or page order prior to approving your file.
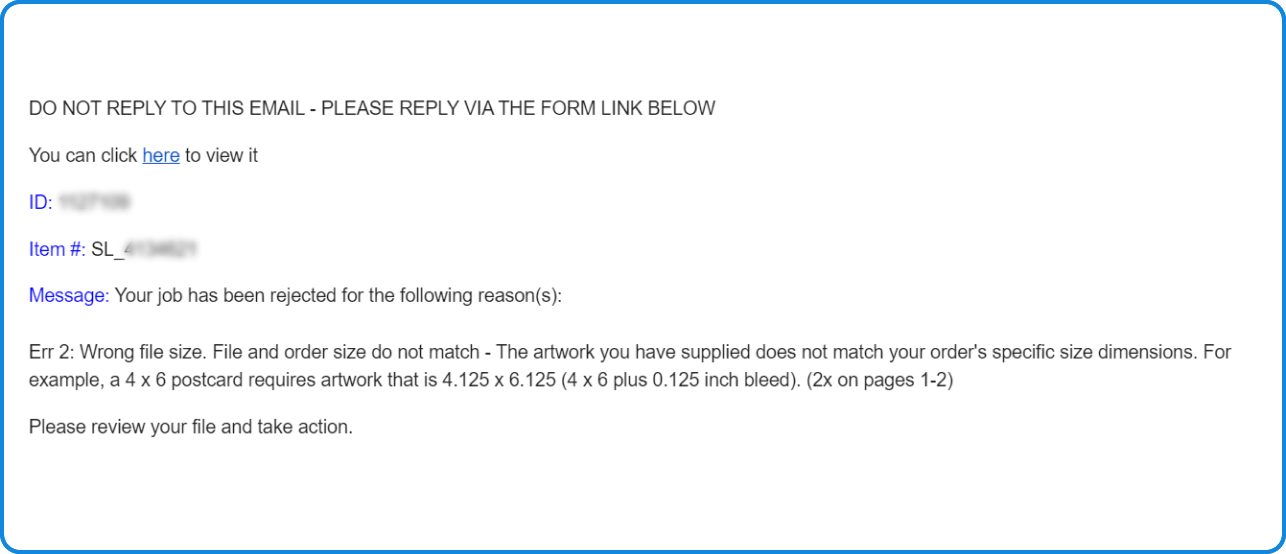
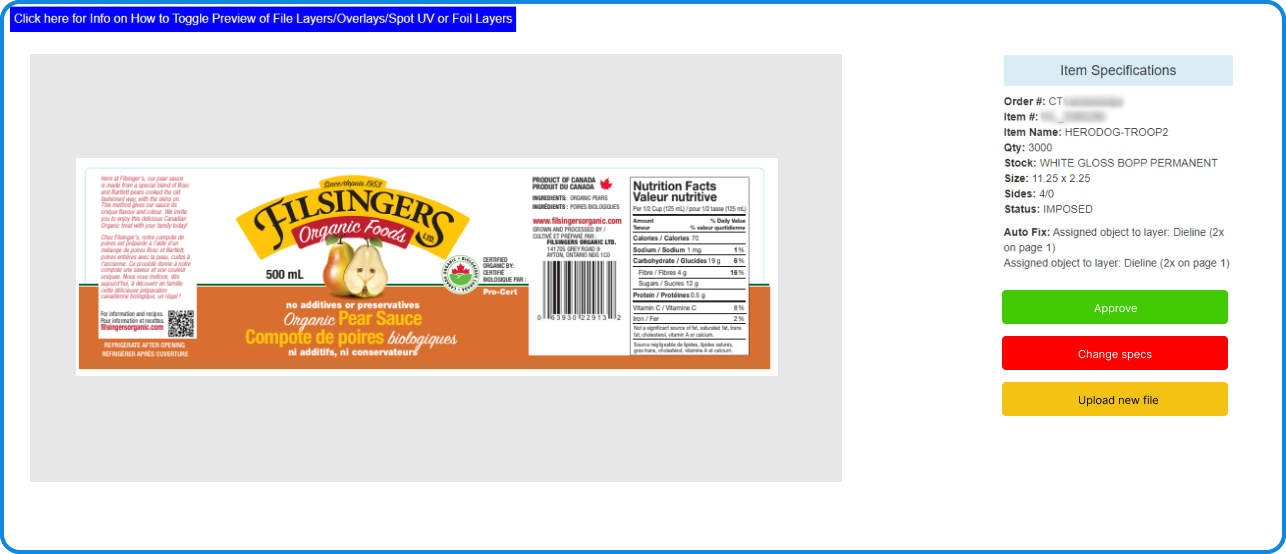
In the event that your order has been rejected, you will receive an email notifying you of the rejection. You'll have the option to upload new artwork, place the order on hold, or cancel the order.
FDA 21 CFR 177.1630 compliant
PE:FDA 21 CFR 175.105, 175.300(b)(3)(xxx), 175.320(b)3iii, 176.180, 176.210, 177.1200 , 177.1210, 177.1350, 177.1520(a)(2)(i), 177.1520(a)(3)(i), 177.1520(a)(3)(i)(a)(2) , 177.1520(a)(3)(i)(c)(1), 177.1520(b), 177.1520(c)2.1, 3.1a, 178.2010(b) , 178.3120, 178.3297(e), 178.3400, 178.3750, 178.3860, 179.45 , 181.28, 181.29, FCN 1753
Conditions of Use:Conditions of Use B - H, as described in Table 2 of 21 CFR 176.170(c) For use in contact with nonalcoholic food. Not for use in contact with infant formula and breast milk but may be used in repeat use articles for feeding infant formula and human milk as well as packaging of powdered infant formula.
Reviews
Customers Who Bought This Item Also Bought!
Please complete your information below to login.